Electrical Wiring for a TBucket

philly said:
why dont you photocopy or scan them and hang on to it.... wether or not you read them it'd be nice to have a copy floating around for reference at some point or another.

I might just have to do, be an incentive to get the scanner working again.

 
mathd said:
I have pine cabinets in my kitchen. bit of tint and varnish. look pretty good, but this wood is pretty soft.
padauk wood look like hard wood. its going to be harder to work with.
I looked padauk wood on google, look very good, what your going to lay over it? some nitrocellulose lacquer applied with the spray gun? :)

Not sure exactly at this point, but I do know that it needs to be protected from
UV or it turns darker. Just have to see when I get to that point in the project.


The SpeedHut gauges are not deep enough for the threads to stick thru the dash
far enough that the ring can be tighten. Therefore I used a router and a 45°
router bit to chamfer the hole on the backside, making the threads accessible.


I'm also changing out my vertical windshield for one that is laid back at 30°, which
requires that the windshield post be changed. This has to be done before I can
finalize the dash and check for gauge placement.


The posts mount entirely different. Instead of bolts, it uses threaded bosses that
don't line up with the old holes. You can see how different in the photo below.


I plan on placing Oak wood inside the body and fiberglassing it into place. This will
require soaking the Oak in water and clamping into place and letting it dry. Then I
can layer it building up the thickness and strengthening the body.


After the wood is in place I will line the windshield posts with aluminum tape to
keep the fiberglass from sticking to the posts. Then placement them into position
and pouring fiberglass into the cavity. I want the body to have the exact same
shape so forces will be spread evenly across the body.


Maybe "Not a TA" will have some suggestions or tips for pulling this off successfully.


Attachments

  • FP03_PostWindshield5956.jpg
    FP03_PostWindshield5956.jpg
    104 KB · Views: 12
  • FP03_PostCavityFill_5962.jpg
    FP03_PostCavityFill_5962.jpg
    95.5 KB · Views: 12
  • FP03_Dash-Router_5963.jpg
    FP03_Dash-Router_5963.jpg
    89.3 KB · Views: 12
  • FP03_DashInsideCavity_5960.jpg
    FP03_DashInsideCavity_5960.jpg
    127.5 KB · Views: 12
  • FP03_DashInsideCavity_5959.jpg
    FP03_DashInsideCavity_5959.jpg
    128.5 KB · Views: 12
  • FP03_PostWindshieldHoles_5957.jpg
    FP03_PostWindshieldHoles_5957.jpg
    39.5 KB · Views: 12
TIPS?
MOVE NEXT DOOR< HERE IN FLORIDA, ID LOVE TO HAVE YOU LOCAL SO I COULD HELP OUT! and BESIDES ITS DECENT WEATHER 97% OF THE TIME!
the surface your bonding too MUST be rather rough to get a decent bond and fiber glass resin has very little strength without the multi layers of chopped glass mat .
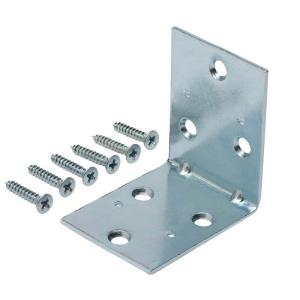
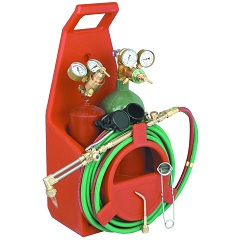
if it was my car Id buy a few plates hammer them flat, then bend each to fit the interior surface of the car body, with a welding torch and hammer, as you could easily get almost any config you want
35c8_300.jpg
, once thats done I'd drill a few holes and insert a few 1/4" carriage bolts thru a backing plate, from inside the body and leave at least 1/2" of the threaded bolt sticking out, past the outer body surface your building up to match the bracket, for the resin and chopped mat to physically bond too, Id darn sure fiber glass over the interior plate also,once its hardened and sanded down the extra rigid brace would be far stronger

http://www.homedepot.com/s/corner+brace?NCNI-5

http://fiberglasssupply.com/Product_Cat ... evlar.html

http://www.fibreglast.com/category/Epox ... 7AodkGYANw
 
I agree with what has been said above.
Also there is 2 type of fiberglass, the epoxy resin one are alot stronger.
 
grumpyvette said:
TIPS?
MOVE NEXT DOOR< HERE IN FLORIDA, ID LOVE TO HAVE YOU LOCAL SO I COULD HELP OUT! and BESIDES ITS DECENT WEATHER 97% OF THE TIME!
the surface your bonding too MUST be rather rough to get a decent bond and fiber glass resin has very little strength without the multi layers of chopped glass mat .
if it was my car Id buy a few plates hammer them flat, then bend each to fit the interior surface of the car body, with a welding torch and hammer, as you could easily get almost any config you want
35c8_300.jpg
, once thats done I'd drill a few holes and insert a few 1/4" carriage bolts thru a backing plate, from inside the body and leave at least 1/2" of the threaded bolt sticking out, past the outer body surface your building up to match the bracket, for the resin and chopped mat to physically bond too, Id darn sure fiber glass over the interior plate also,once its hardened and sanded down the extra rigid brace would be far stronger

http://www.homedepot.com/s/corner+brace?NCNI-5

http://fiberglasssupply.com/Product_Cat ... evlar.html

http://www.fibreglast.com/category/Epox ... 7AodkGYANw

That might just happen when I retire in about 6 years, if the wife kicks me out ! :)
Do you still have that 2nd house on your property?

So you think it would be so pliable when red hot that you could hammer it into the
shape of the body on the inside??? Without hurting the body!

 
I can,t begin to tell you how many times I learned the hard way by screwing up things , personally trying to rush thru a project, or by doing silly things without thinking them thru, myself :oops: :roll: and yes
It should be OBVIOUS that you'll damage a fiber glass t-bucket body panel,beating on it like an anvil like that!
but when I was young I may have tried it and caused myself a whole lot of extra work as a result!, but if I have a single redeeming quality it is that I tend to take notes and learn from my own personal stupid mistakes, and those I see other friends make, so they rarely get repeated twice.

I'm sure rick is laughing at this :mrgreen: as I doubt he would even think about doing something like that as hes doing very professional work, of a far higher quality than most of the guys I know .
yeah! it would be great if you could but if it was that solid it would hardly need to be braced for strength,
the new improved ,laid back angle , on the wind shield will offer significantly lower air drag at speeds over 60 mph
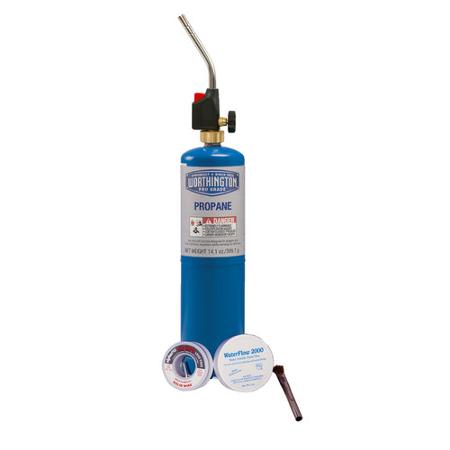
don,t hammer the hot metal sheet steel bracket too shape ON the cars fiber glass body,
pltorch.jpg

1b39.v1.jpg

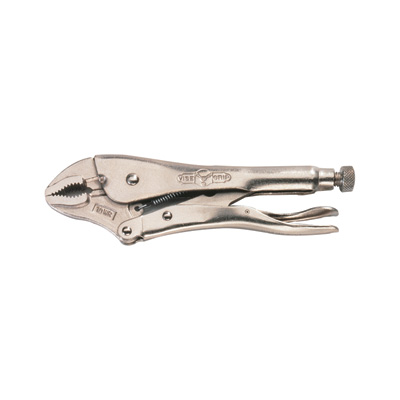
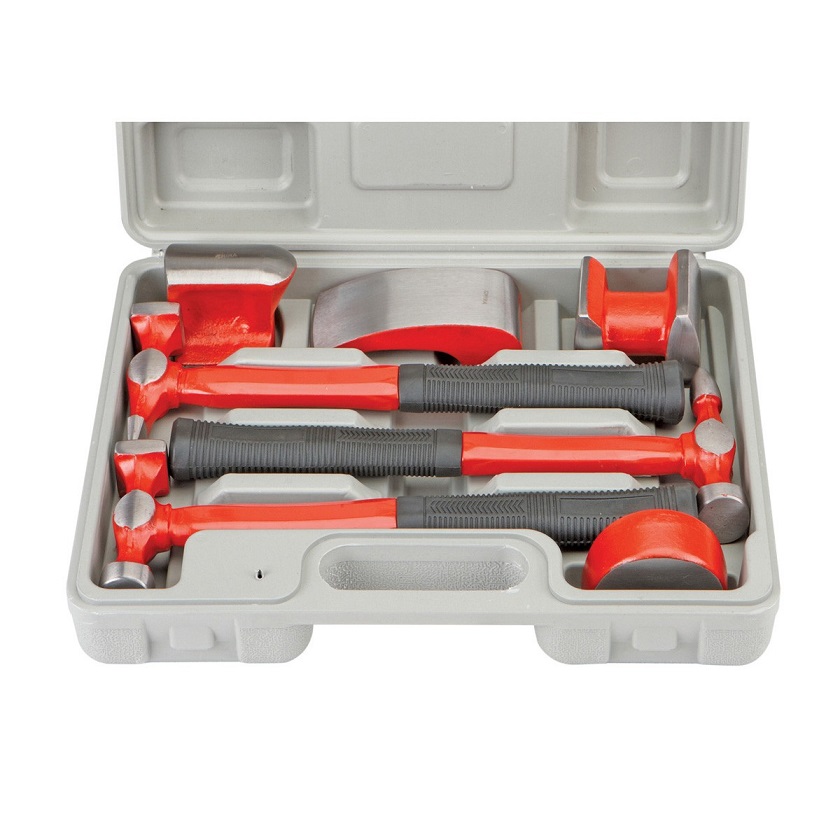
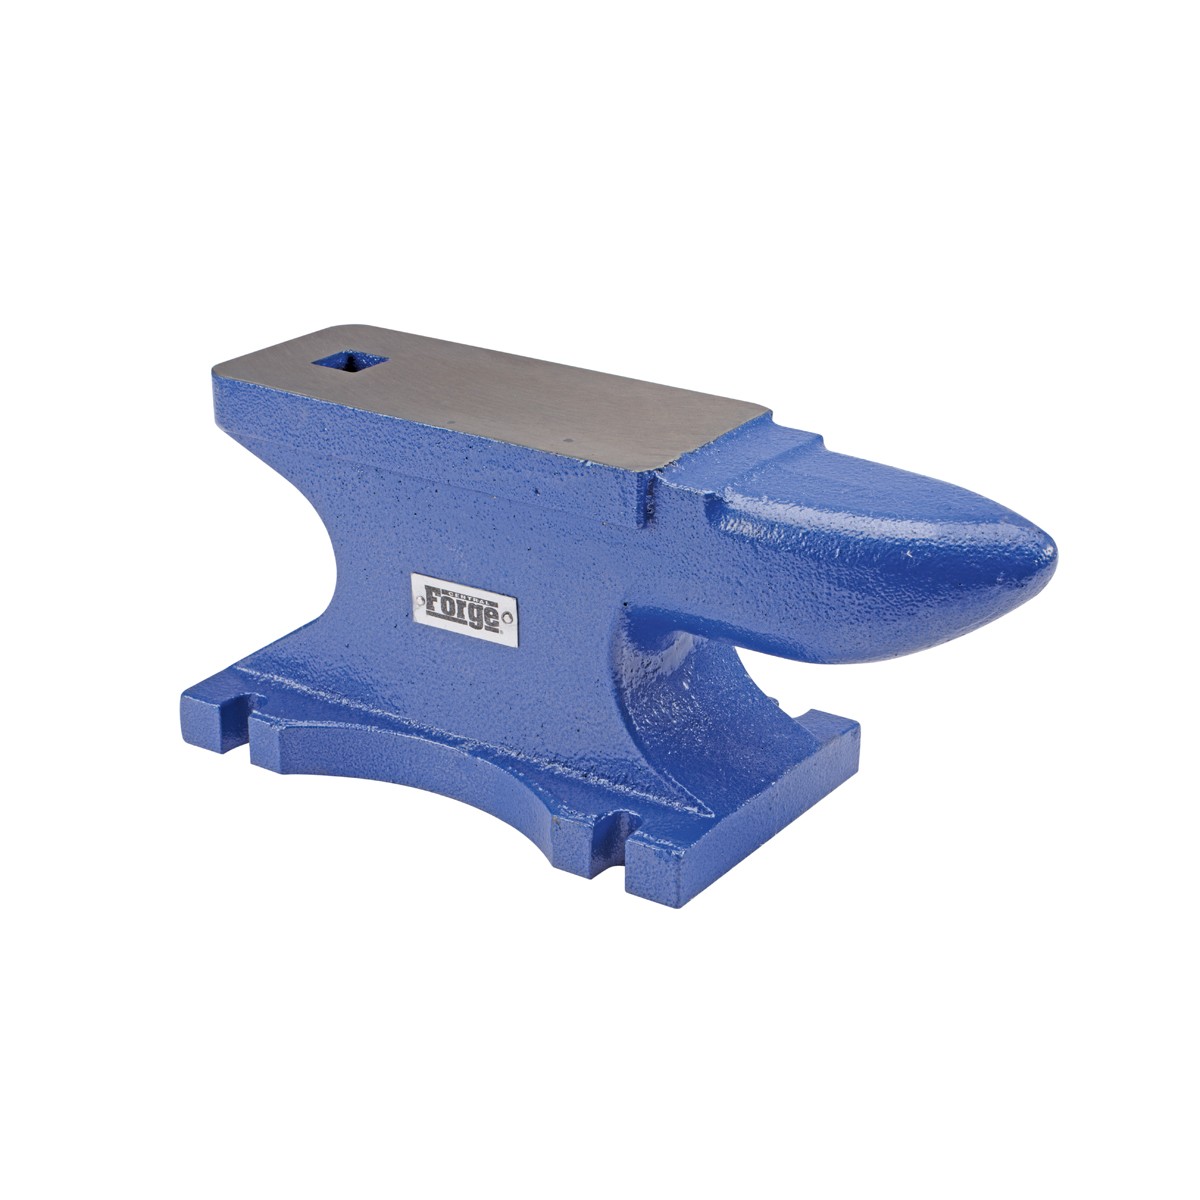
youll need something to use like an ANVIL !~and/or a body dolly and hammer set while holding the part being formed with VISE GRIPS
visegrips.jpg

21562.jpg

http://www.harborfreight.com/7-piece-bo ... 31277.html
21926.jpg

http://www.harborfreight.com/55-lb-rugg ... 69161.html
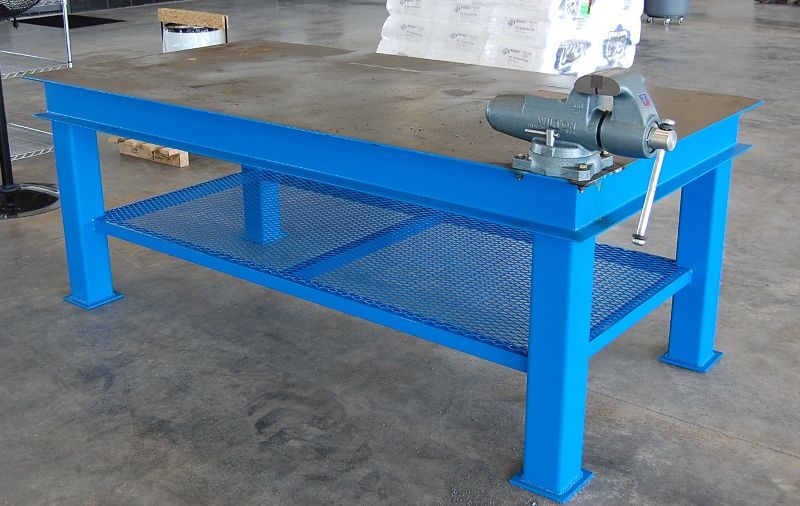
and YEAH! I'd love too have a decent welding bench like this to work on projects like that
worktable+with+vice1275438480.jpg
 
allen said:
I've read through that link and it occurred to me that I'd bet 90% of the guys reading through those brief instructions have no idea how to match the shape of that structural brace plate you mentioned fabricating, too closely match, the contours of the cars inner surface.
especially when you realize that the area your making that brace to fit may be very hard to get a good look at because its up under the dash or too close to the floor


thats a darn good point, ALLEN, that I erroneously assumed, (obviously without thinking it thru) that most of the guys reading thru this thread might have some experience ,previously fabricating or doing body work, and your 100% correct, that could very easily be an incorrect assumption.
O.K. your correct youll need a way to get a pattern of the contour and some way to match it to the fabricated plates surface to verify that it will fit at least very closely to the inner wall surface if its to supply the correct support to that wind-shield frame, support area on the car.
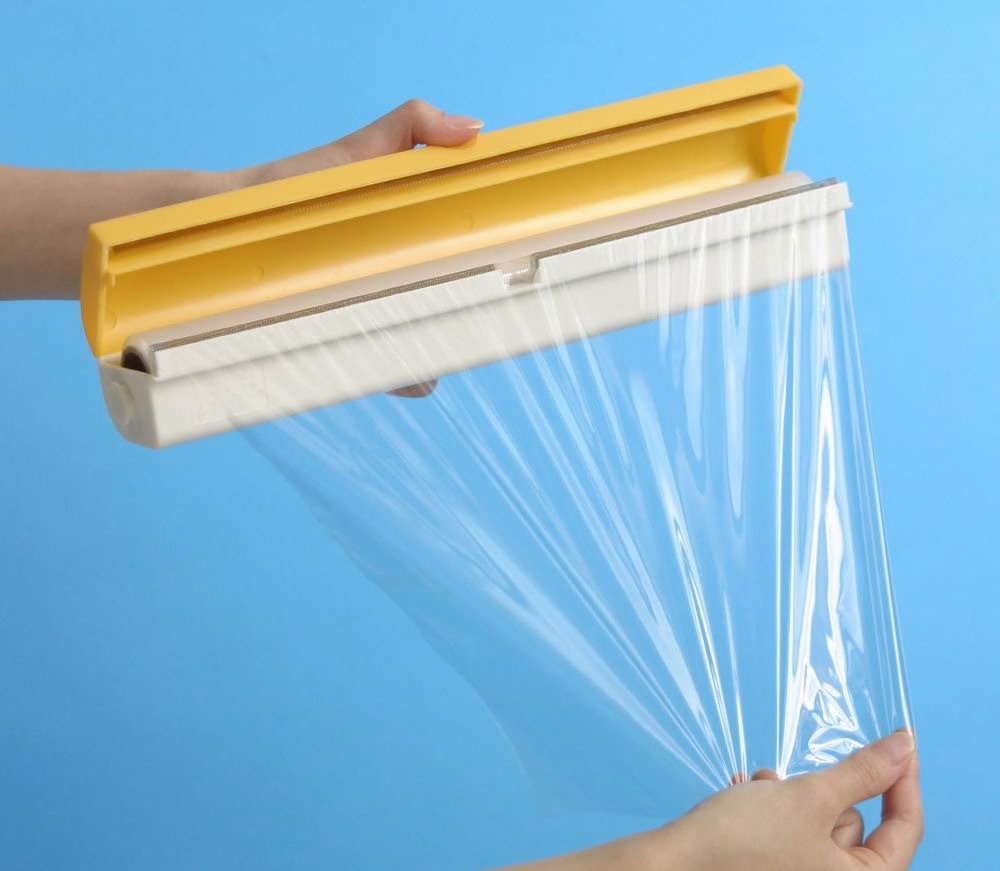
this is rather easily done by forcing a 1/4 lb of modeling clay up against the intended mount area with a thin sheet of plastic sandwich wrap (surran wrap) between the clay and the fiber glass surface your making a duplicate contour of, too use as a pattern as you heat and forge the backing plate to closely duplicate that contour.
the thin SURAN WRAP , or GLAD WRAP, prevents the oil or wax from the clay's surface from later preventing the new fiber glass resin from firmly adhering where the clay was forced against that surface
filepicker%2FTJqia9HWScCeCMyP0xTJ_saran_wrap.jpg

now I don,t know a single serious, machinist, or engine builder that does not have a couple blocks of modeling clay , in his tool chest some place, he uses to check valve to piston and oil pump pick-up to oil pan floor clearances so in theory you probably have the clay readily available.

clay5.jpg

clay6.jpg
 
I'm looking & thinking. I'd be hesitant to fiberglass anything unless it's really, really necessary. Fiberglassing over wood rarely holds up well over time so I'd avoid that if possible. Using fiberglass on a material that expands & contracts at a different rate than the glass does limits how long it lasts before cracking.

Rick, can you take a pic of the inside of the windshield post bracket with it off the car?

I notice you'll have a small area above the door hinges where the old bracket was that will not be covered by the new bracket. Are there any plans for paint work or would you like to avoid paint work?
 
NOT A TA said:
I'm looking & thinking. I'd be hesitant to fiberglass anything unless it's really, really necessary. Fiberglassing over wood rarely holds up well over time so I'd avoid that if possible. Using fiberglass on a material that expands & contracts at a different rate than the glass does limits how long it lasts before cracking.

Rick, can you take a pic of the inside of the windshield post bracket with it off the car?

I notice you'll have a small area above the door hinges where the old bracket was that will not be covered by the new bracket. Are there any plans for paint work or would you like to avoid paint work?

Avoid paint work at this time, but not at the expense of doing the job right.


These are the supplies I have purchased so far, will I be able to use them


Attachments

  • FP04_Fiberglass&BondoSupplies_5968.jpg
    FP04_Fiberglass&BondoSupplies_5968.jpg
    51.9 KB · Views: 48
  • FP04_WindshieldPostBodySide_5965_66_67.jpg
    FP04_WindshieldPostBodySide_5965_66_67.jpg
    55.3 KB · Views: 48
grumpyvette said:
TIPS?
MOVE NEXT DOOR< HERE IN FLORIDA, ID LOVE TO HAVE YOU LOCAL SO I COULD HELP OUT! and BESIDES ITS DECENT WEATHER 97% OF THE TIME!
the surface your bonding too MUST be rather rough to get a decent bond and fiber glass resin has very little strength without the multi layers of chopped glass mat .
if it was my car Id buy a few plates hammer them flat, then bend each to fit the interior surface of the car body, with a welding torch and hammer, as you could easily get almost any config you want
35c8_300.jpg
, once thats done I'd drill a few holes and insert a few 1/4" carriage bolts thru a backing plate, from inside the body and leave at least 1/2" of the threaded bolt sticking out, past the outer body surface your building up to match the bracket, for the resin and chopped mat to physically bond too, Id darn sure fiber glass over the interior plate also,once its hardened and sanded down the extra rigid brace would be far stronger

http://www.homedepot.com/s/corner+brace?NCNI-5

http://fiberglasssupply.com/Product_Cat ... evlar.html

http://www.fibreglast.com/category/Epox ... 7AodkGYANw
I agree with Grumpy on this one, that will be a lot stronger with a backing plate. If you want Rick, I can bring my oxyacetylene torch with me this Friday and we can hand form a backing plate. I have a few ideas about how to make a template as not to damage your fiberglass body. Your local welding shop has bottles for the torch that I am sure you can rent for a day. I can fit the torch and gauges in one of my saddlebags, but depending on weather, I may have to take my truck in which case I will bring my bottles also.
 
Rick did you recently sand the inside of the door pillar or has it been like that? I'n still contemplating options.
 

I had some air bubbles under the original fiberglass I did in 1980, so I was doing
some cleanup a couple of days ago.


I'm having trouble figuring out how to hook up the rear turn signals and brake
light combination. To make things easier, if someone has any input I labeled
several of the contact points that might be used.

I stumbled across a Ididit drawing that used my steering column, it had the
exact same color coded wires. Since my present wiring is working I confirmed
that the Ididit drawing made sense when compared to how my car is wired. It
checked out Ok.

If someone could help point me in the right direction to finish up my turn signals
and brake light wiring it would be greatly appreciated.


The wires are NOT in the same order as the table above, but the are all there.


Attachments

  • HeadlampCircuit01.jpg
    HeadlampCircuit01.jpg
    71.3 KB · Views: 21
  • SteeringColumnWiringDiagram01.jpg
    SteeringColumnWiringDiagram01.jpg
    27 KB · Views: 21
  • SteeringColumnWiring&ColorCodeFromIdidit.jpg
    SteeringColumnWiring&ColorCodeFromIdidit.jpg
    50.5 KB · Views: 6
your obviously thinking this thru and doing a careful job, the electrical schematics and photos are darn impressive also, but are you making and real progress on getting the car back to driveable condition, and what remains to be done?
 
grumpyvette said:
your obviously thinking this thru and doing a careful job, the electrical schematics and photos are darn impressive also, but are you making and real progress on getting the car back to driveable condition, and what remains to be done?

I guess you will have to define Real Progress before I can answer that. Anyway,
it's something I have to wade thru before I can start pulling wire. I have a couple
of more drawings before I can start that process.

** Project that have to get done.

Other projects include actually installing the fuel system I have already purchased.
Go here for the details .......
viewtopic.php?f=55&t=7787

** Creating a new dash, not the electrical part, but the wood working and finishing
part.

** New laid back 30° windshield but taller. See example below. The old one was
stood straight up.

Finish polishing the Coors beer keg or sometimes called gas tank.

Smooth and paint front brake drums

Rebuild Ford 9 inch posi or at least ** replace the pinion seal to stop leak.


Now see what you did, you got me all depressed now!!! ;)


Attachments

  • TBucketLaidBackWindshield.jpg
    TBucketLaidBackWindshield.jpg
    95.2 KB · Views: 18
Well, left rear turn and brake to C on the left rear lamp.
right rear turn and brake to the F on right rear lamp.
And brake feed to the brake light switch.
 
Back
Top