I'll spare everyone everything that broke my stones. Here's where I'm at now:
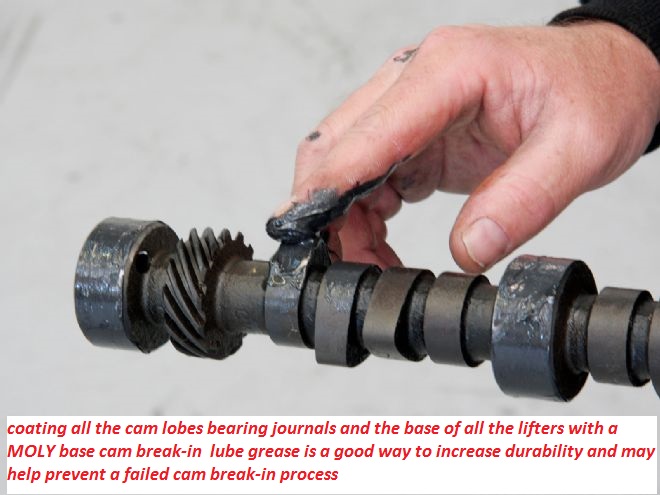
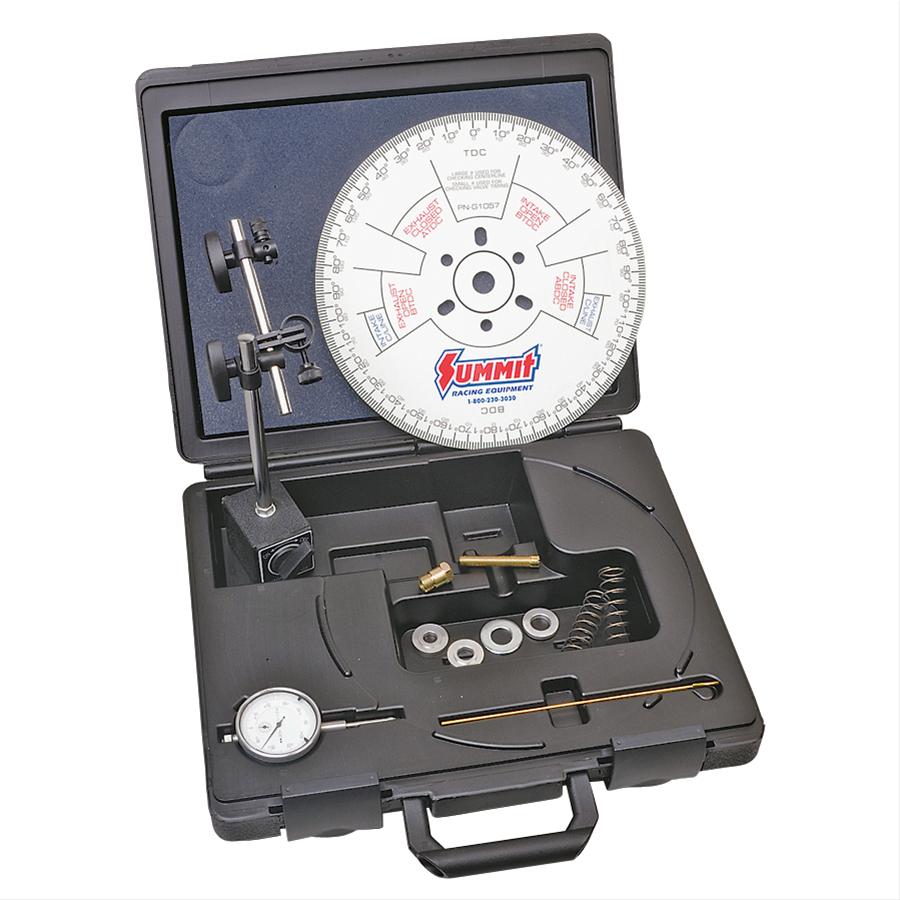
New ISKY camshaft degreed and installed with lobes coated and massaged with Rev-Lube - Check.
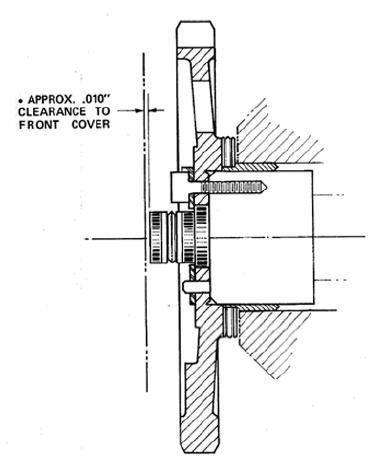
Timing cover - check. Camshaft end play - check. Harmonic balancer - check.
Lifters coated and massaged with Rev-Lube and installed (all through the distributor hole in
the intake) - Check. SmCo magnets installed in heads near oil drainback holes - check.
Still to do: double-check pushrod length (this is a completely different cam & lifters and the marks on
the valve stems from the previous Crane cam say I'm a little long), flush out and repaint the line on the
pushrods and install, wash and moly lube and install rocker arms, check piston to valve clearance from
25 deg BTDC to 25 deg ATDC, add break-in oil, install oil filter, prelube with drill motor, install distributor
(use gasket only for better gear mesh), and install side cut-out valve covers so I can see if the pushrods are
rotating when first fired (and if the rockers are getting the proper amount of oil this time).
I'm hoping to fire it Wednesday, but the thrill is gone, and I really don't give a crap anymore.
Doing this no longer brings me pleasure, just nothing but aggravation. I'm sick of doing my part
right, and still not getting any payoff (bad parts, more time, more money, etc).
And I haven't even gotten to the car yet! I am 100% convinced that the universe, GOD, aliens, the
government, Obama, terrorists, or whatever will not let me have this!
The straw that broke this camel's back today was the SmCo magnets I planned to put in the heads.
I ordered 1" discs, 1/4" thick. They had sharp edges, so like Rick, I just had to deburr them. They
come in a stack, separated by nylon spacers. Since it would be hard to hold on to just one, leaving them
stacked was more like holding on to a piece of round stock. So I bevel the corners of the 2 ends on my
belt sander and then change the order of the stack around for 2 new ends, and deburr those. And repeat.
But the magnets got a little too close to the metal of the sander and the whole stack was pulled out of my
hands. They shot into the belt and were carried down to the casting, wedging 1 in between and shattering it.
SHIT. OK, I still have 3. So I finish the other 3. Then I decide to clean them with the wire wheel. Any
guesses what happened? Again the pulling force from being attracted to the steel wire wheel pulled them
out of my hands and slammed them into the concrete floor. No damage though. So I pick them up and I
have 2 in my left hand and 1 in my right. I'm trying to re-stack them and as they get near each other, the
1 in my right hand gets pulled free and slams into the other 2 in my left hand, shattering 2 more. So I'm
cleaning off the pieces and figure I can throw a piece inside of my oil filters when I do oil changes. I'm
sticking them to my round lolly column. 1 larger piece is half a disc. I stick it to the column (across the arc -
like a seesaw) and about 2 seconds later I hear a snap and it's now 2 pieces. Luckily I had (8) 3/8" x 1/8"
SmCo discs and I used 2 in each corner of the heads and they fit better than those 1" discs would have.
And I have (8) 1/2" x 1/4" SmCo discs to go between the pairs of pushrods that I will not even try to deburr.
I'm not comfortable with dropping a piece of magnet INSIDE of the oil filter, because there is a very small possibility
of it making it's way into the engine. I would rather stick it to the side of 1 of the bolts mounting the oil filter adapter,
which would be at the INLET of the oil filter and therefore could never make it into the engine. Opinions please.

.jpg")


.jpg")
.jpg")
.jpg")


")